Sunday, March 7, 2021

Tool Chest Part IV (Drawers and Runners)


 Drawer runners  
The runners for the sliding drawers are made of beech.
The three drawers are of decreasing length from top to bottom. 
In this way it will be possible to insert and extract them freely 
as needed. The two lateral runners are therefore made with a stepped 
profile.


Building the beech runners

Tracing


Roughing by rebating using a combination plane


Rifinishing by a rebate plane


each drawer slides on one of the edges


Drawer joinery


Drawers 
The drawers are also assembled with a dovetail joint.  
The tails are cut on the short sides. The bottom is inserted in grooves cut on the sides.


Cutting the bottom grooves


If necessary cut grooves for accomodate drawer dividers

Dovetails


The bottom is rebating to be able to insert it in side grooves


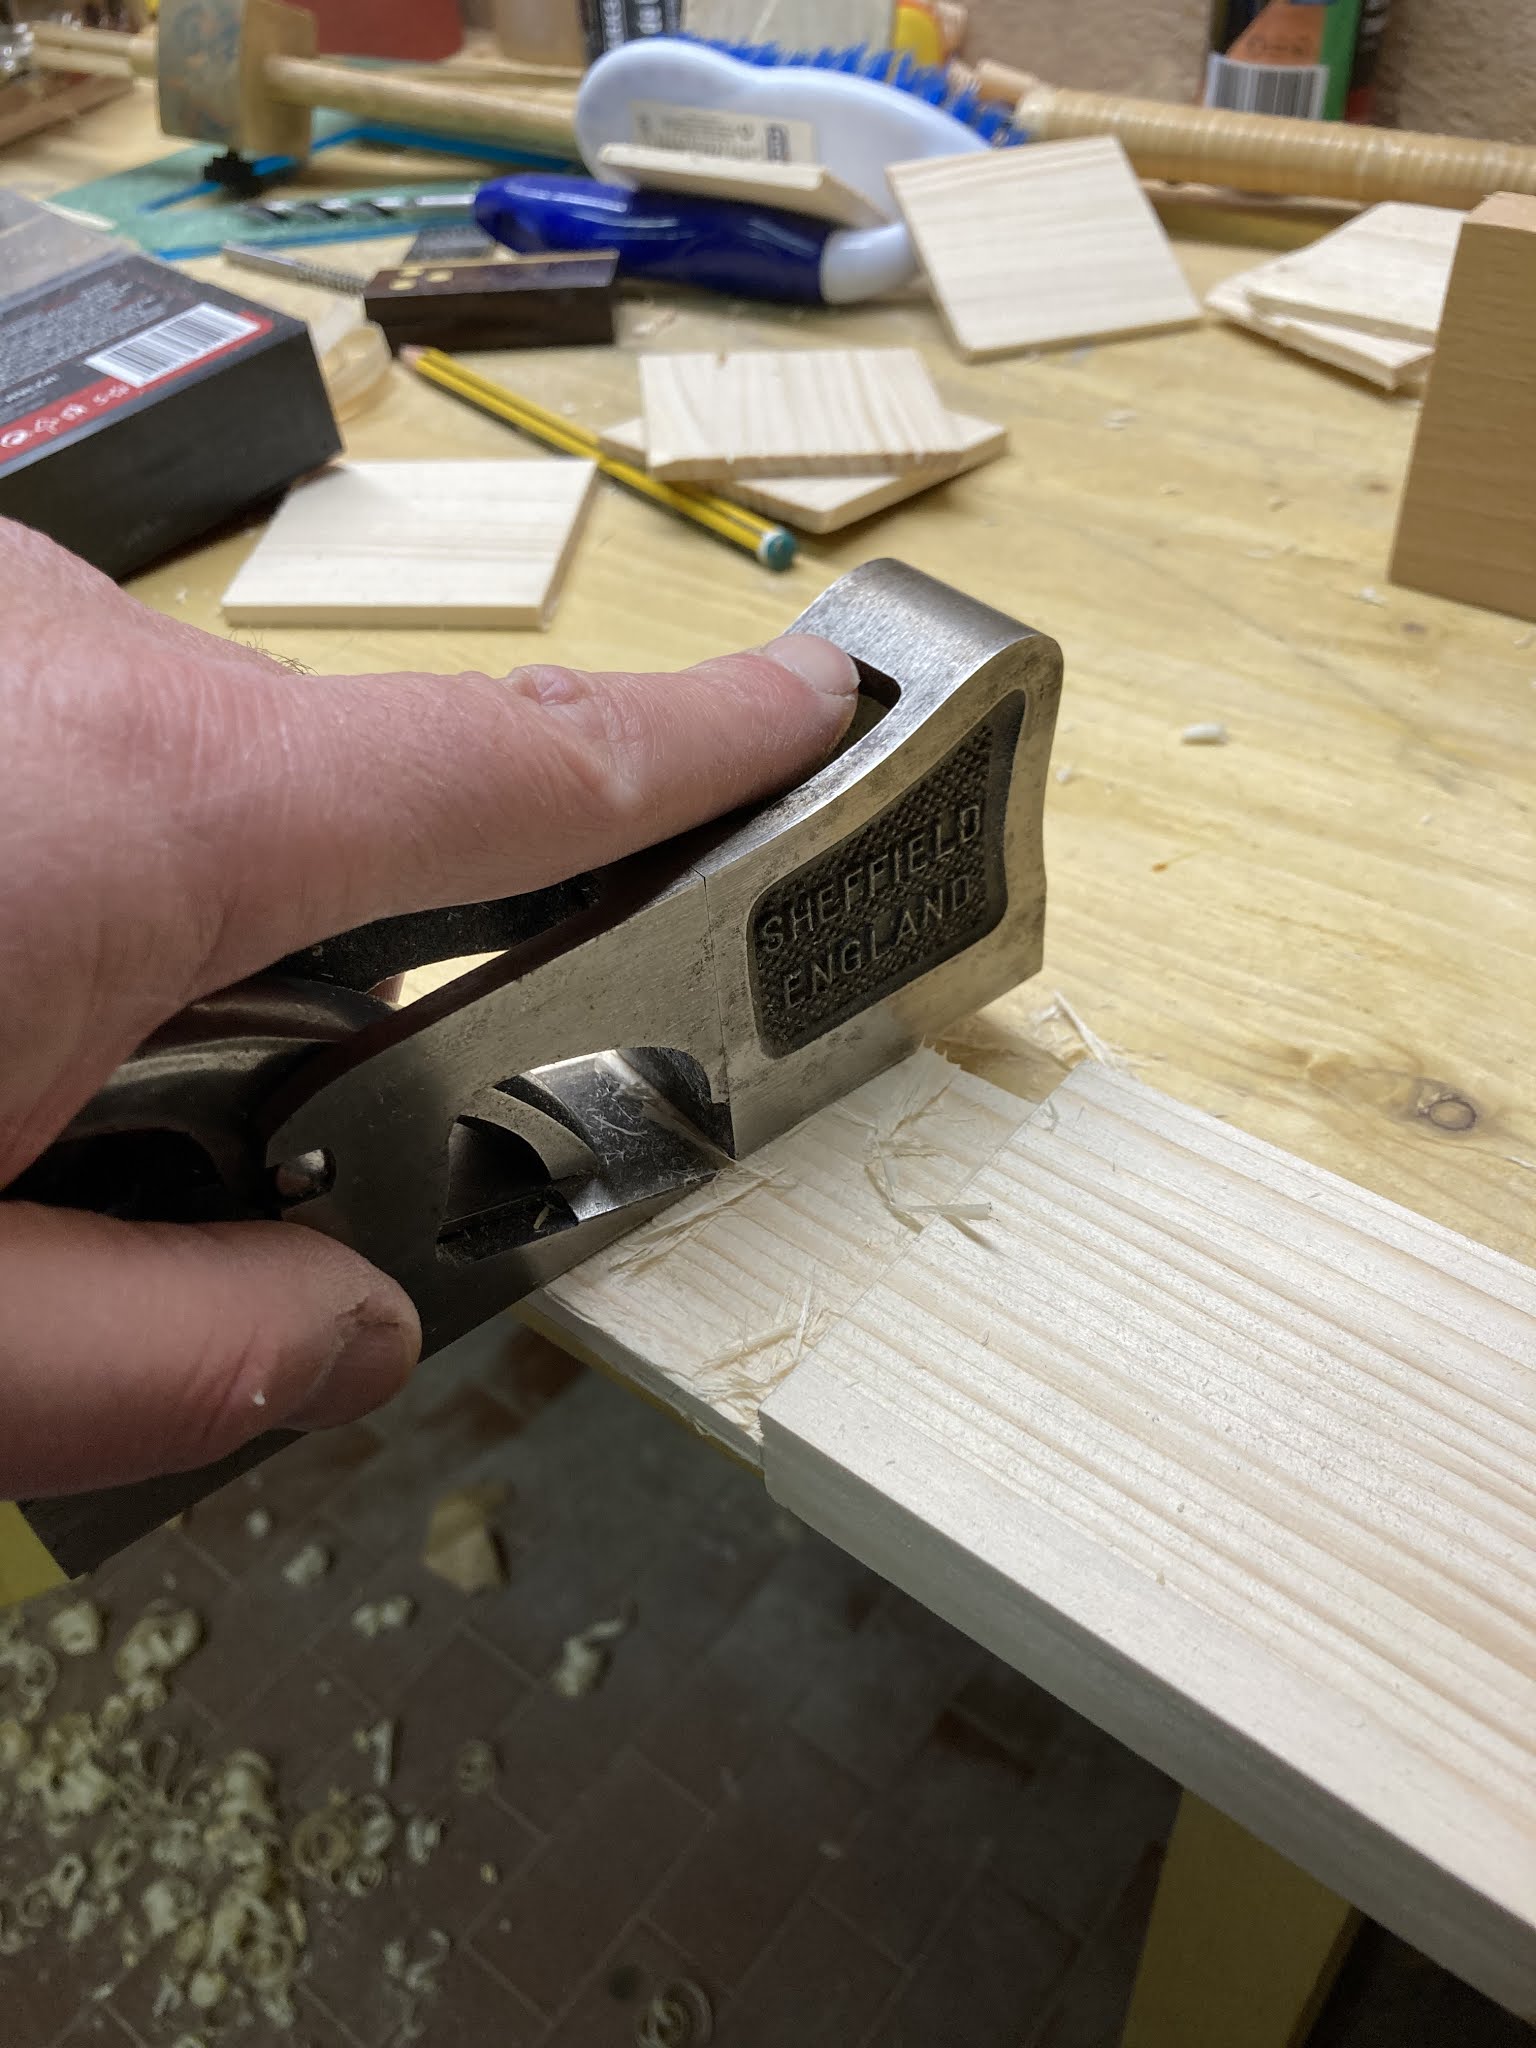
Across the grain the skewed rebate has no competitors


The drawer slides on beech replaceable elements


Tune up the drawer insertion by using a block plane


Sliding tests


Drill box 
The revolving box that contains the drilling accessories is initially made as if it were a closed box, then 4 perimetral elements 
and 2 closing panels, upper and lower.


The revolving drill box is made as a closed box


The lid is then separated by using a bandsaw


Handles 

Handles will be used to facilitate the movement of the drawers.
The classic solution is to use small folding handles; 
in this case I opted for self-built handles inserted in the thickness 
of the drawer fronts.

A Hydraulic connector is used for obtain a ring screwed in the drawer front


Improvised tapping device


 The inner thread helps the finger grip during the mouvement

Part 1: Case

Part 2: Lid

Part 3: Skirts

Part 4: Drawers and Runners

Part 5: Finishing 

Video and photo gallery 

Tool Chest Part III (Skirts)


Lower skirts joinery

Skirts
The skirts have the purpose of protecting the case from impacts but also of preventing it from disassembling in case of failure of the joints. Traditionally these elements were made of hard wood. I chose the beech which works well for the purpose; it is also quite easy to work so I was able to add some moldings that add an aesthetic note to the project.
The lower skirts are glued to the perimeter of the case and also joined with dovetails but with the tails positioned on the short sides, in the opposite way to what is foreseen for the case.

The upper skirts are glued and jointed at 45 ° with the joint reinforced by 6 mm pins, always placed in such a way as to contrast any failure of the dovetailed case.

The moldings were made using hand planes.


Piece squaring up

 
Moulding


Assembling test 


Tracing and cutting the tails


The moulding is cut at 45°


A mitre 45° template helps to cut at the right angle


Gluing up the lower skirts


This is the upper skirt profile


The work begins by tracing by a marking gouge a deep mark that fixs  the rebate width; this will help us to guide the round plane

This mark guides the rebate plane used without a lateral fence; the first shots will be done keeping the plane in a inclined position toward the inner side of the rebate.  Then the plane will be kept to right angle and the rebate completed

Rebate completed

The rebate guides the round plane


Add a beading by using a Stanley 50


The upper skirts are glued up in manner of be kept several mms below the chest upper edge. In this way is possible, when the lid is closed, keep away the dust from tools

Part 1: Case

Part 2: Lid

Part 3: Skirts

Part 4: Drawers and Runners

Part 5: Finishing 

Video and photo gallery 

Tool Chest Part II (Lid)


Lid content
 
Lid joinery

Lid
The lid also acts as a container for tools that take up little depth such as saws and squares. To create the useful space, I added a beech cornice to the lid frame that incorporates the molded motif of the upper skirts. The lid frame is assembled by means of tenon and mortise joints, of the bridle type, further reinforced with a pair of pins.

Cutting mortise and tenons


Tenon trimming for a tight joint further reinforced by a couple of pins (right)


On the inner side of the frame a groove has been made that houses the panel. The same groove is cut on the panel perimeter so that it can be fitted into the frame. The effect is to obtain the prominence of the panel on the outside of the lid (and a recess on the inside). 


Grooving for panel insertion


Adding a perimetral cornice


After gluing the 45° joints are reinforced by pins


Part 1: Case

Part 2: Lid

Part 3: Skirts

Part 4: Drawers and Runners

Part 5: Finishing 

Video and photo gallery