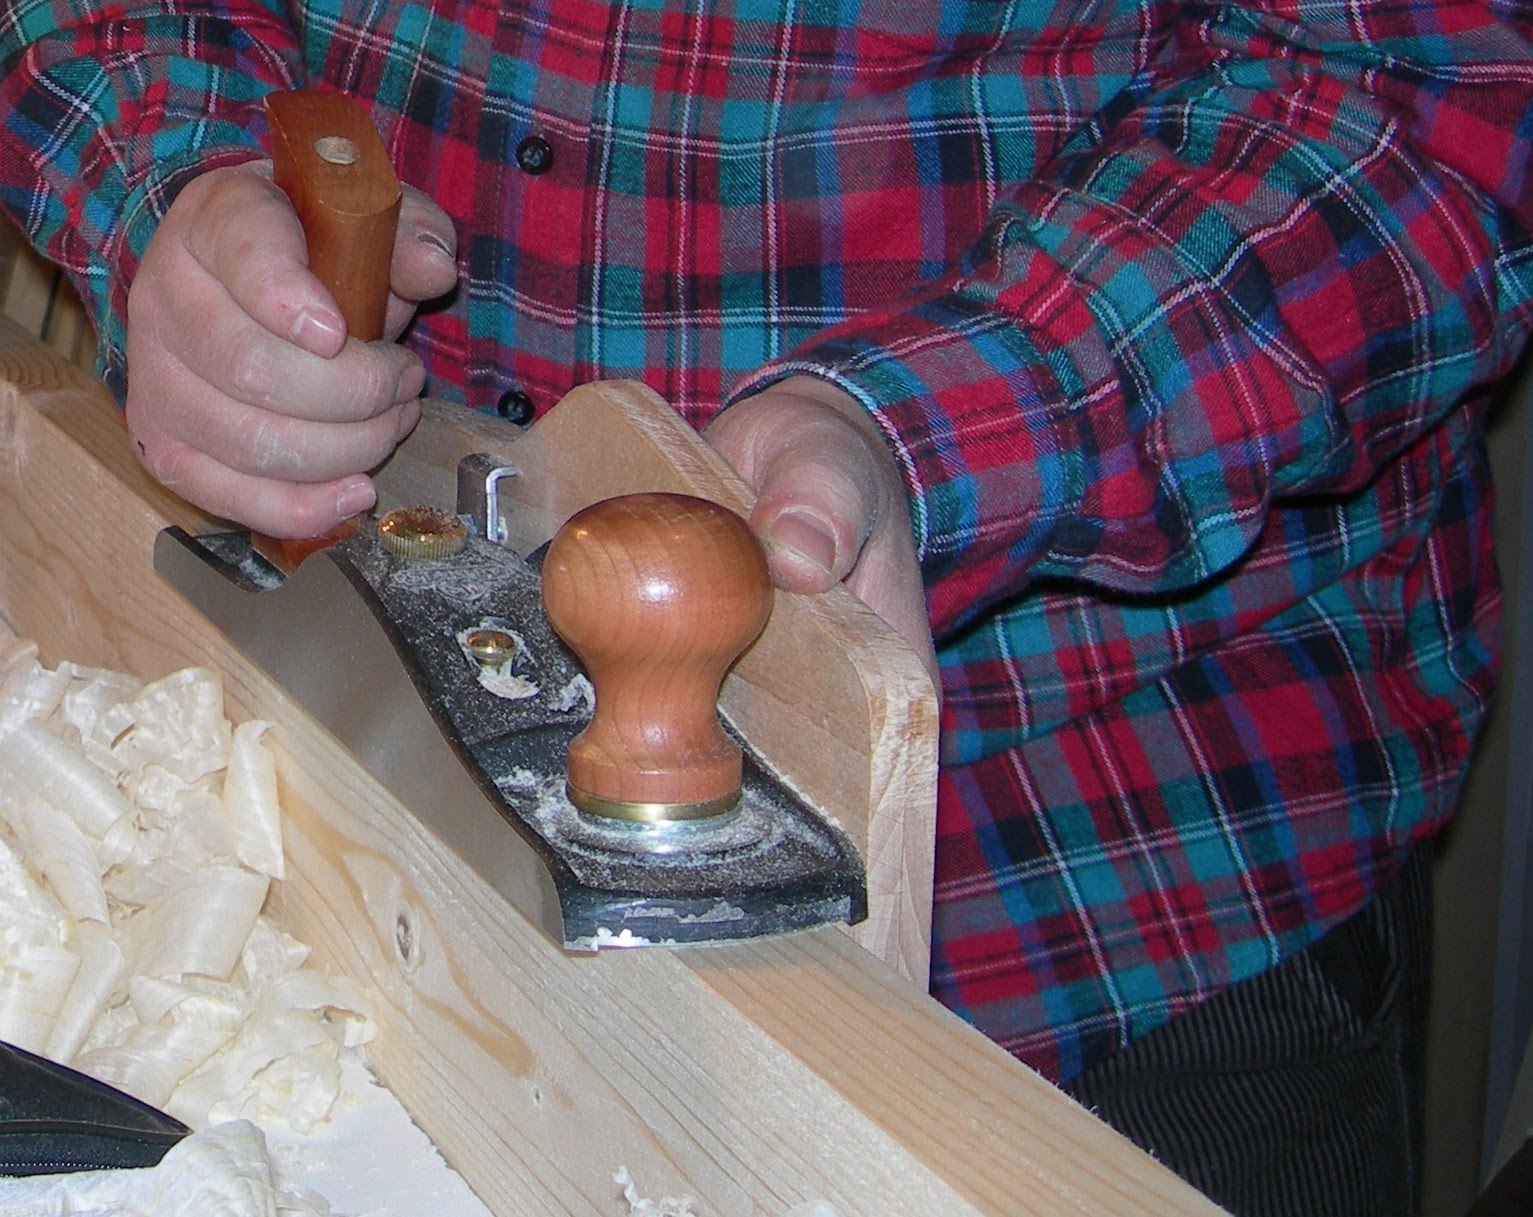
The shooting board task is to allow planing a piece square to the surface that rests on the table. There are various models, with different building solutions. The board I am proposing is useful for planing and square end grain sides or to finish a 45° angle, such as is necessary for frame assembling. As the shooting board fundamental characteristic is plan and angle accuracy, using pre-worked material can be convenient.


I used lamellar beech, but plywood is a good alternative. For the base I used a 3 cm thick board, while the plan upon which the
workpiece is held is 2 cm thick. The length is about 60 cm, width about 25 cm. The support board is narrower to make room for the plane side.


 After screwing the upper board to the base, I installed two holders (3 x 4 cm section) that will serve for workpiece supporting. Their precise positioning is critical for proper shooting board working. The pieces are screwed flush with the upper board edges and have an elongated hole at the rear to allow a fine angle adjustment. Place the two holders to exactly 90 and 45 degrees respect to the sliding edge. Chamfer the holder rear edges (not that one where the piece rests) in order to prevent their damage when the plane will produce the first shots.
 Another holder is placed under the board so that it can be hooked to the workbench and/or locked in the vice. In my case I have used two holders, so I can firmly held the board between the vice and the bench well. A useful operation will be to cut a groove at the plan intersection in order to collect chips and dust and avoiding problems with plane sliding.
 The first shots will remove some shavings from the sliding side, but only until the lateral sole portion under the blade will not come in contact with the edge.